Subscribe to blog updates via email »
Using a pro camera for Zoom calls and streaming
 I recently spent a boatload of time researching cameras, lenses, and lighting to improve my video quality for conference calls, streaming, and podcast interviews. I had to wade through many YouTube videos by streaming gamers and camera gearheads who get too technical. So here’s what I found out, specifically for conference calls, in the most basic terms possible.
Why use a pro camera for streaming?
Webcams on laptops and external webcams have gotten better over the years, and with Mac OS’s Continuity Camera, you can now connect your iPhone to your laptop for calls and streaming.
This is fine for quick and informal stuff, but if you’re, say, a lawyer charging clients $300 an hour, or, like me, an author appearing on video podcasts, it makes sense to step up your camera game.
WANT TO WRITE A BOOK?
Download your FREE copy of How to Write a Book »
(for a limited time)
(click on images to view in high resolution)
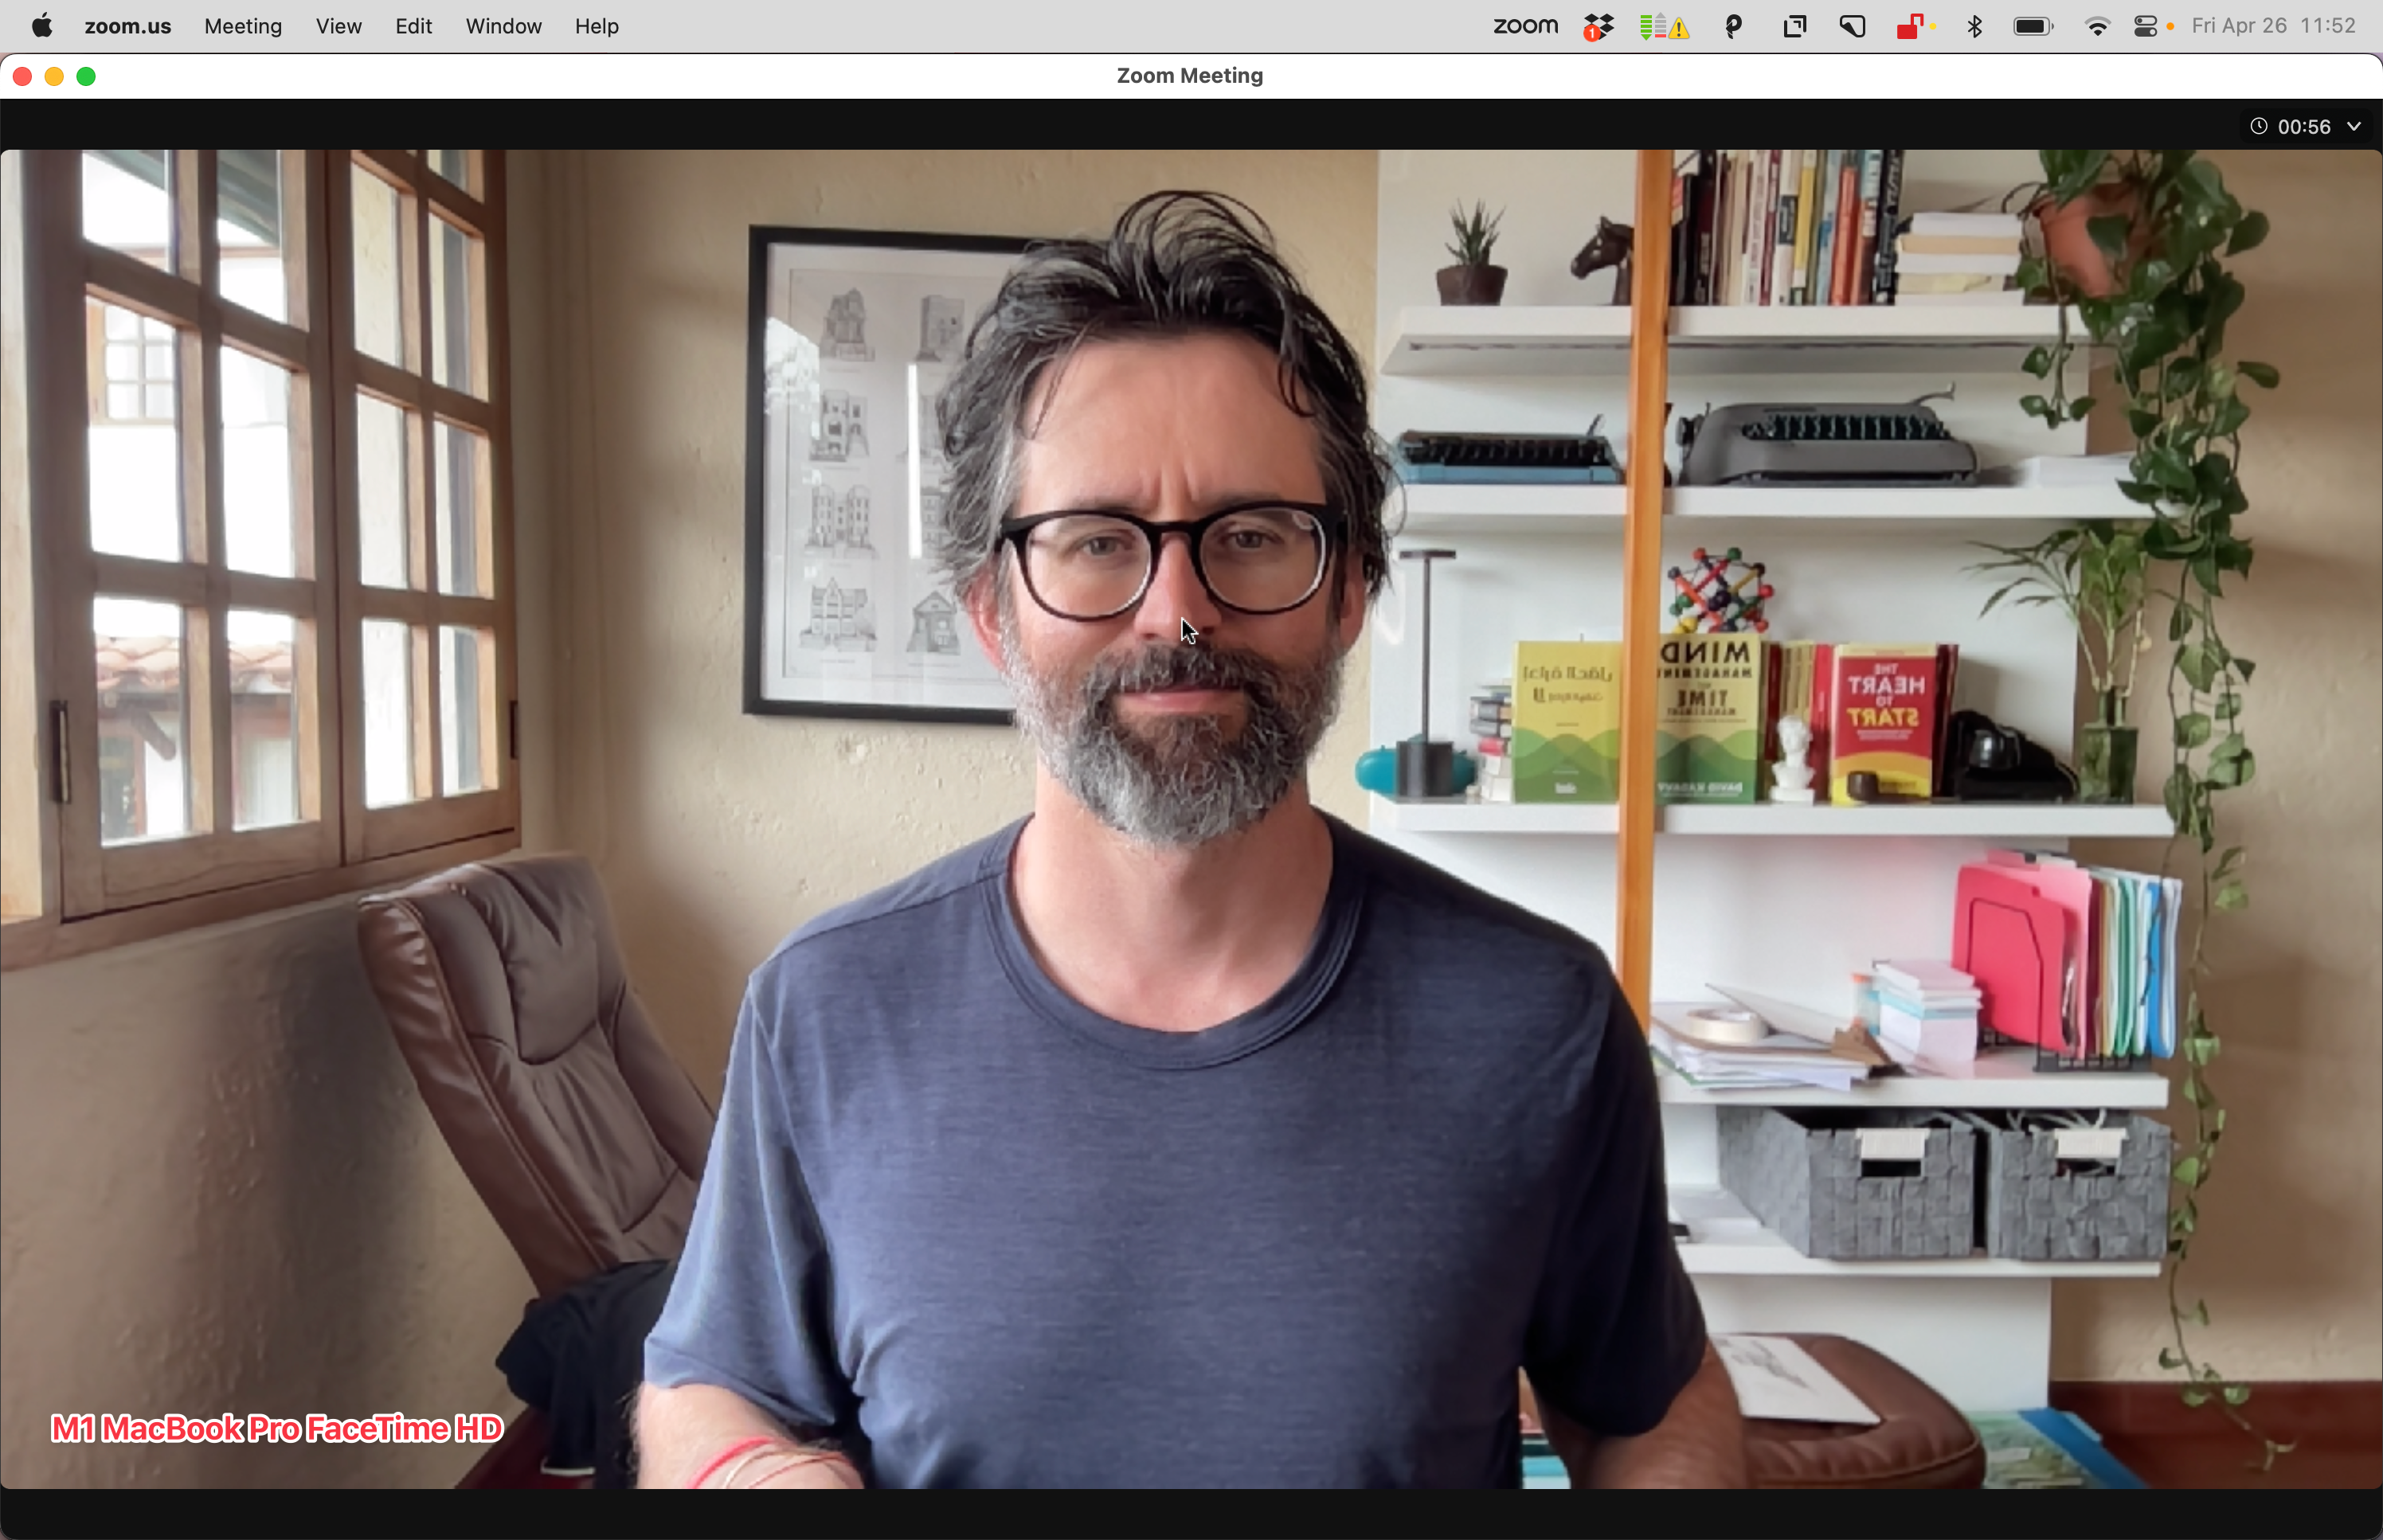
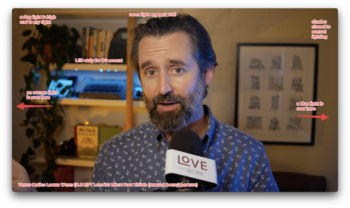
FaceTime camera on my M1 MacBook Pro
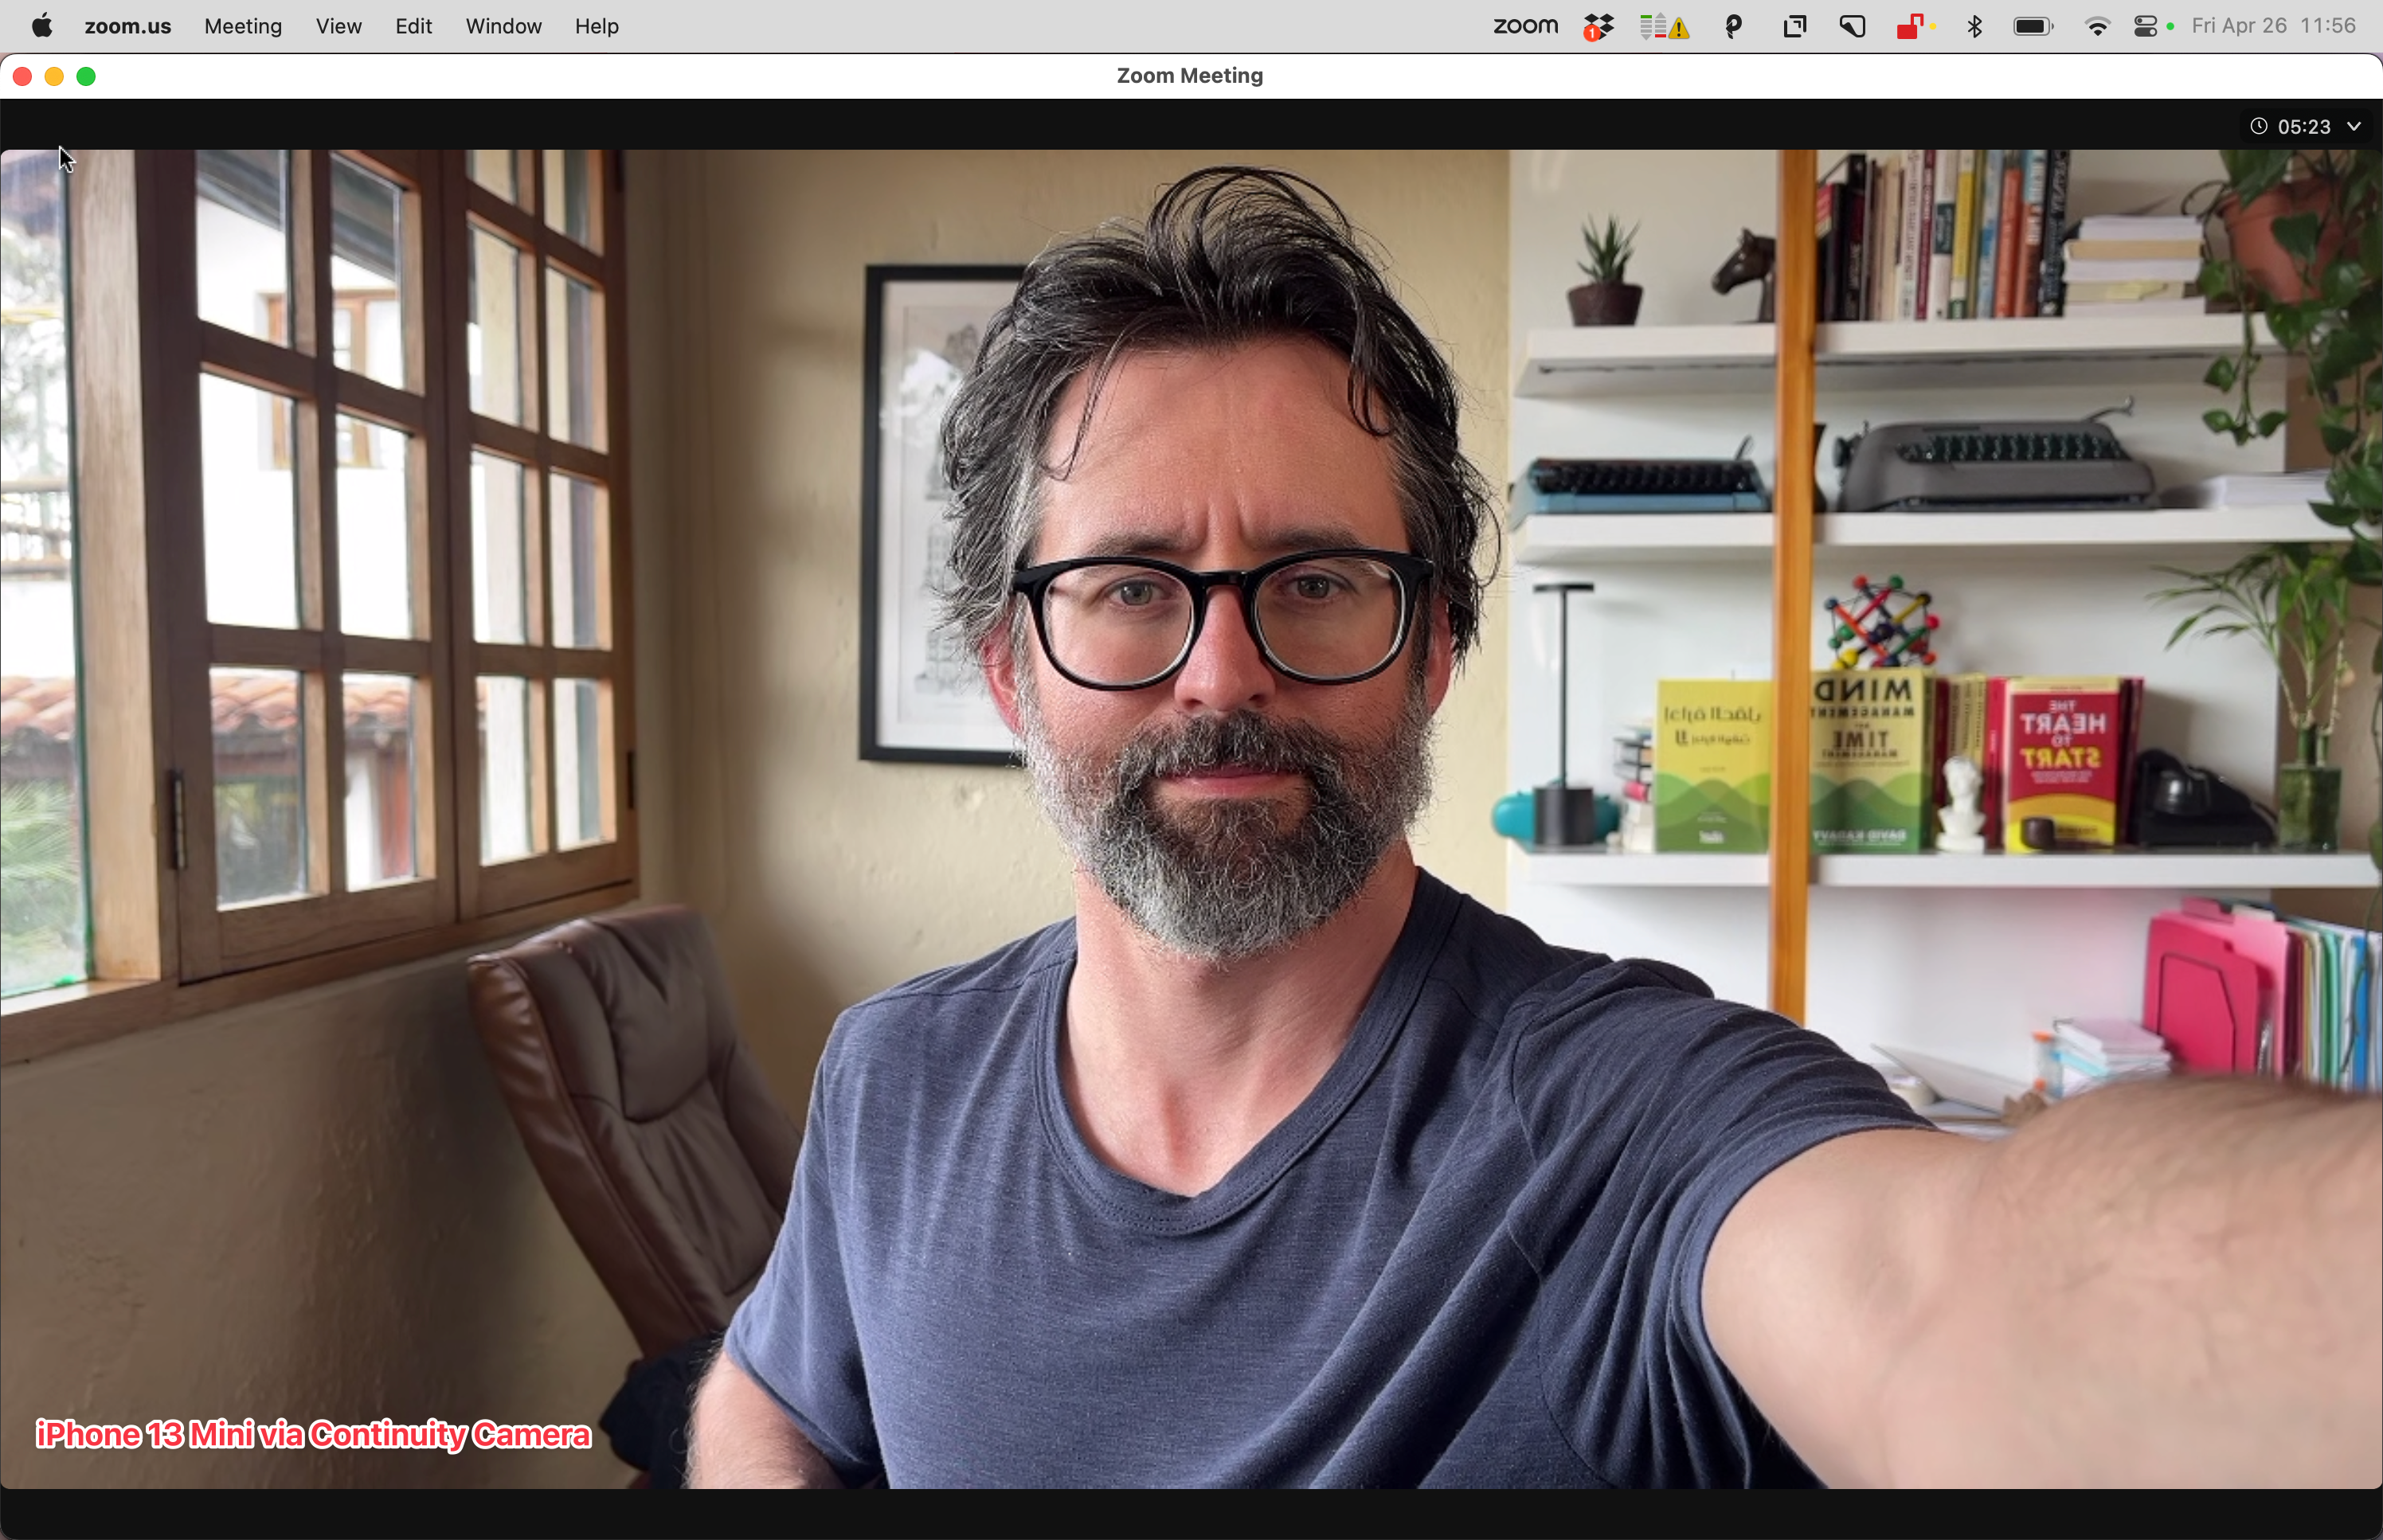
iPhone 13 Mini via Continuity Camera
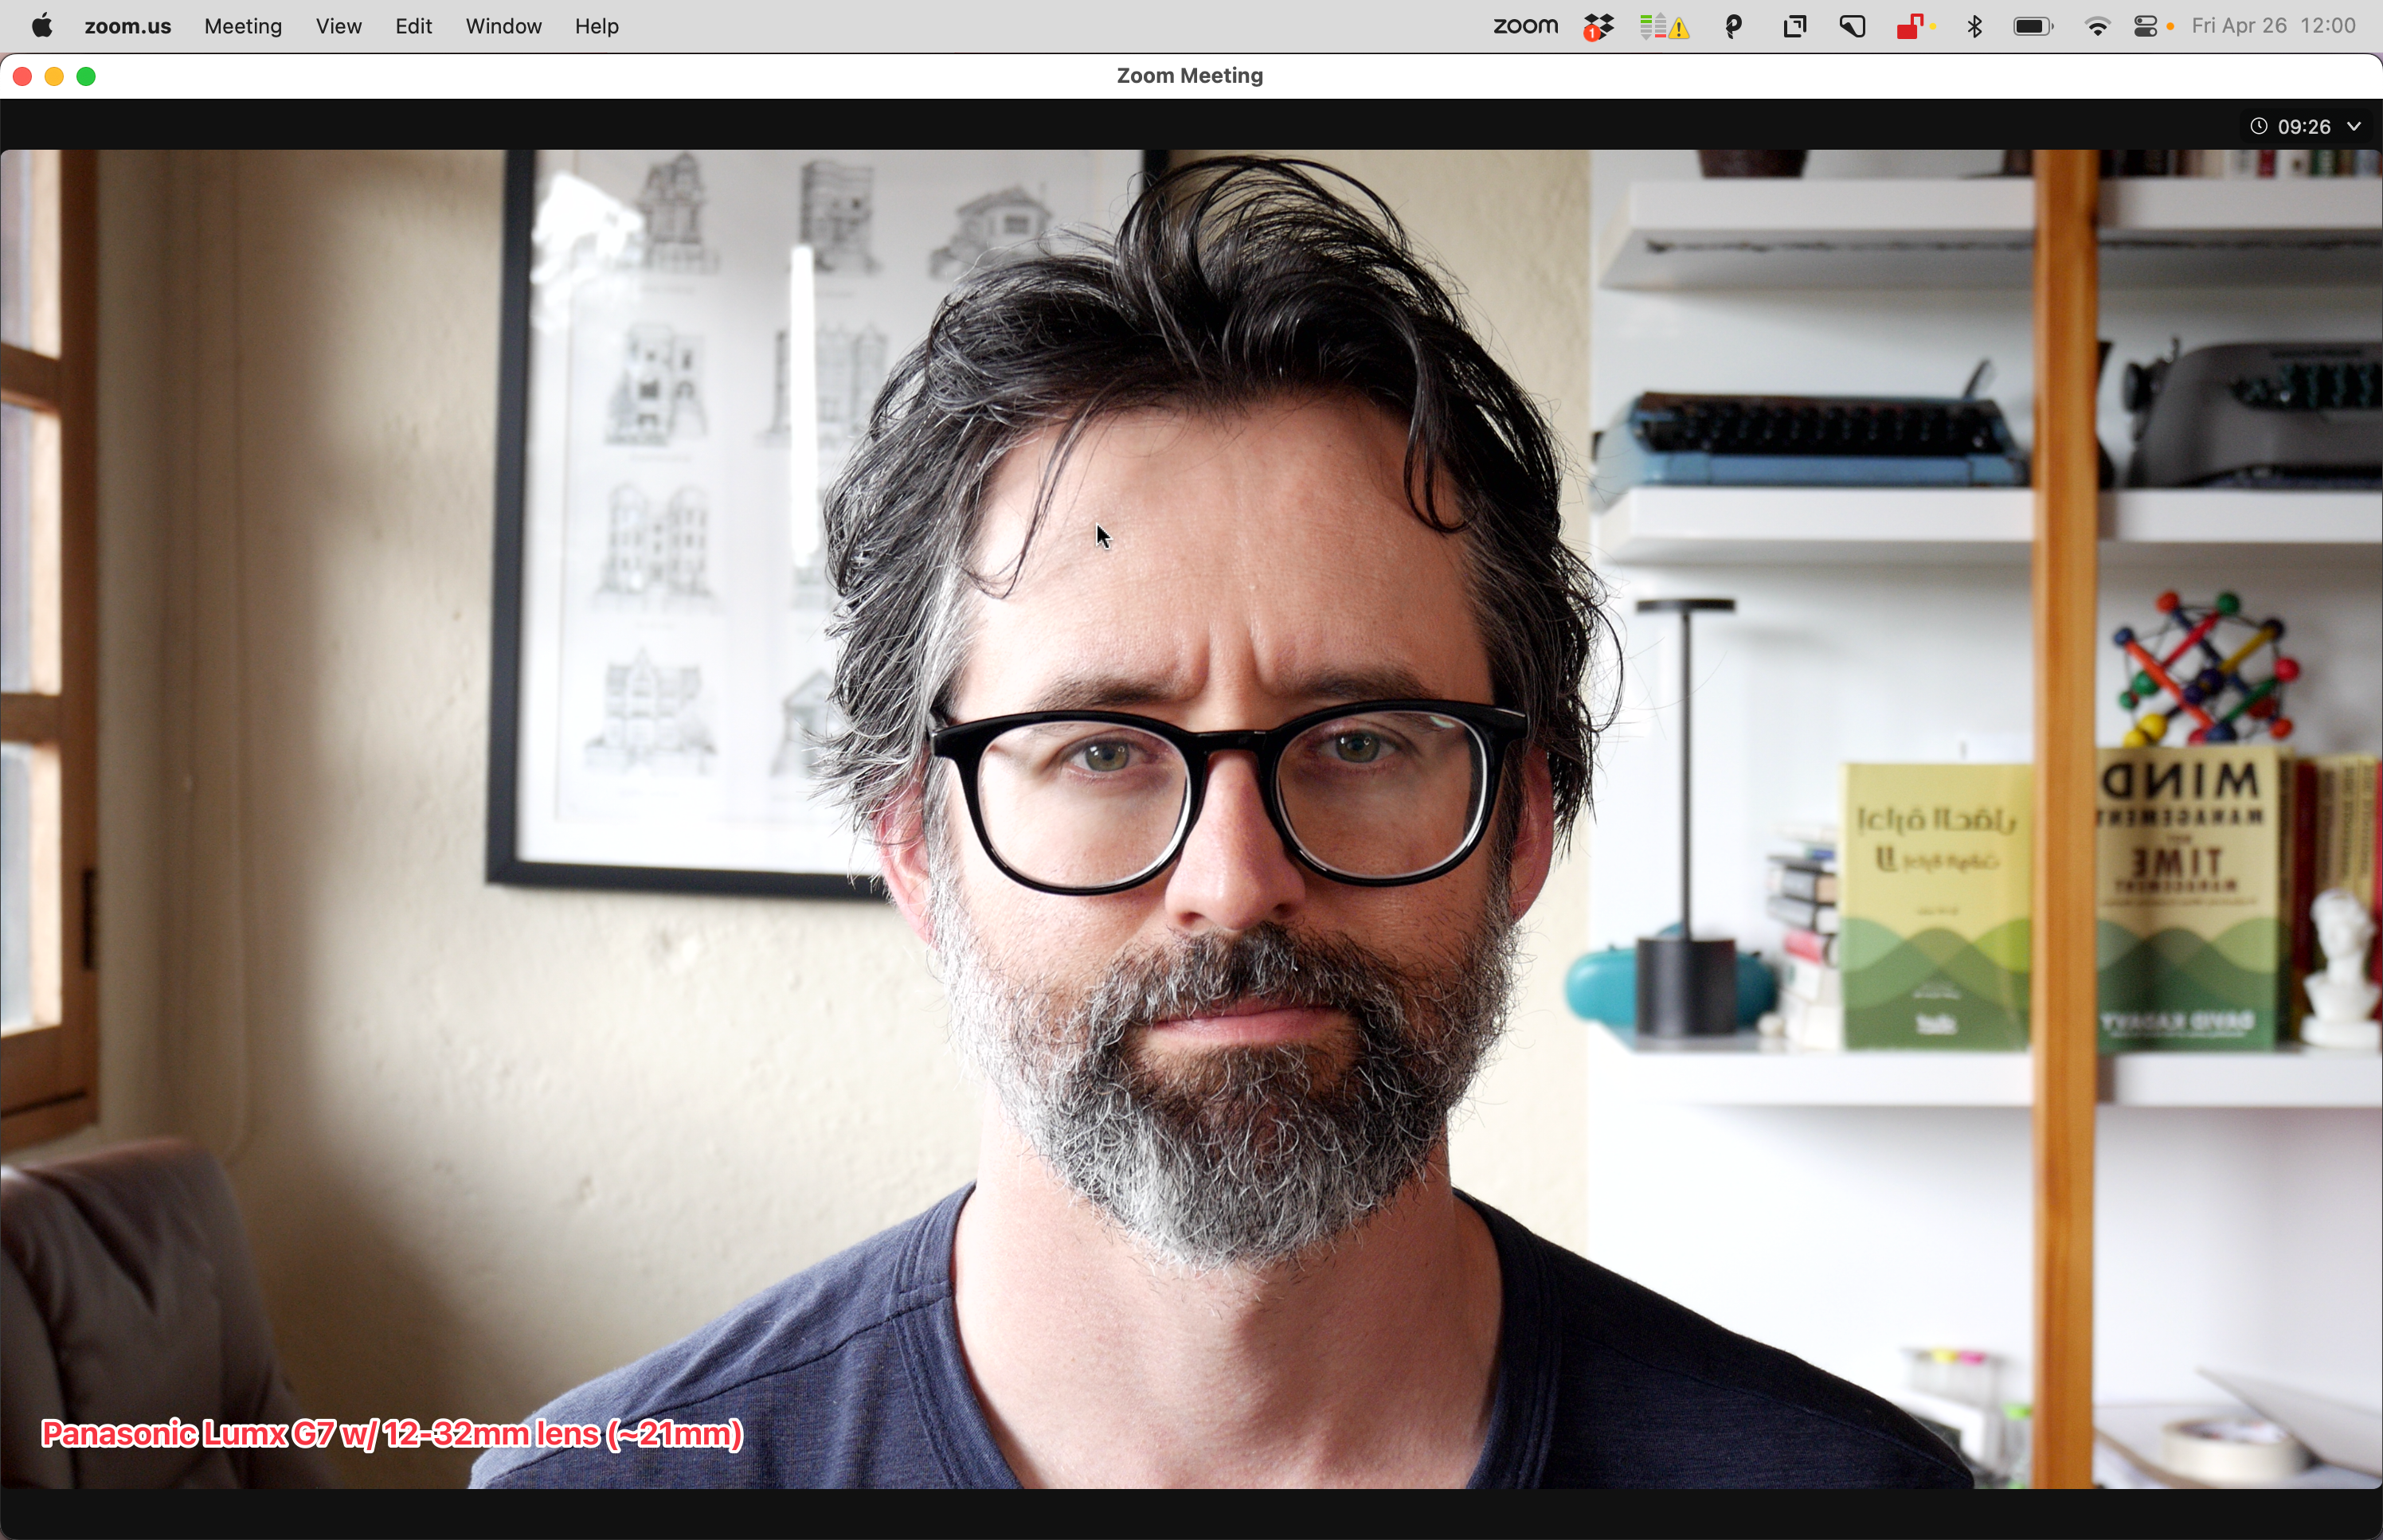
Panasonic Lumix G7 w/ 12–32mm Lens (set at ~21mm)
Some of the differences between a laptop camera and a pro camera (“mirrorless,” “SLR,” or “DSLR”) are subtle. For example, the software on a laptop or iPhone camera works hard to even out lighting. Don’t get me started on the fake bokeh (blurred background) of “portrait mode.” It’s disgusting.
Two requirements: “Clean HDMI out” and a capture card
Whatever pro camera you choose, you’ll need to make sure it has “Clean HDMI out”. This ensures that all the data junk on your camera’s screen, such as what shutter speed it’s on, doesn’t show up in your picture.
You’ll also need a capture card*, which transfers that data to your computer. The most popular is the Elgato Cam Link 4K (Amazon), which is about $100. I bought a refurbished one for $30 less and haven’t had problems.
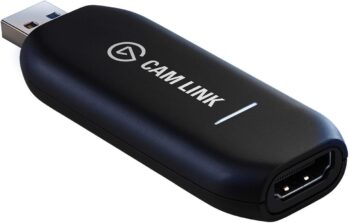
Elgato Cam Link 4K
Check system requirements and be sure your computer can handle it. I have a 16” 2021 M1 MacBook Pro, and it certainly has no problems.
*I say you “need” this, but many manufacturers have software that allows you to stream from your camera. Last I checked these all severely degrade the resolution.
Cheapest mirrorless camera for streaming and Zoom: Panasonic Lumix G7
The cheapest but best camera mirrorless camera I found for streaming and conference calls is the Panasonic Lumix G7.
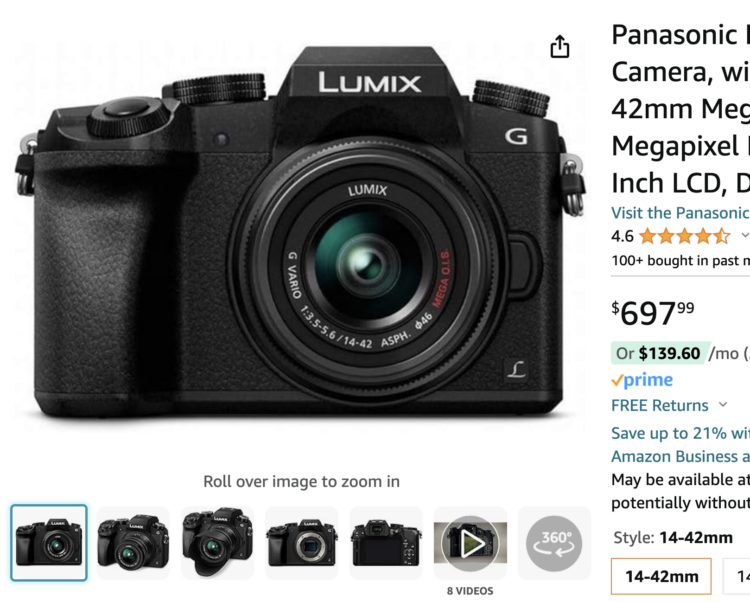
Panasonic Lumix G7 on Amazon
By “cheap,” it’s not cheap: new on Amazon for about $700, with a 14–42mm lens. Occasionally it goes on sale.
I bought just the body of one, used on eBay, for $350. The lens I use I bought new for $150. So about $500 total for my camera + lens.
My lens recommendation: Panasonic Lumix G Vario 12–32mm
The lenses that come with the Panasonic Lumix G7 aren’t the best, but they will still put your webcam or iPhone camera to shame.
The problem with a manual-focus lens
I at first really wanted to max out quality, so went for a fixed lens, the Venus Optics Laowa 17mm f/1.8 MFT (Amazon). (MFT means “Micro Four Thirds”, which means a 17mm lens is about like a 34mm lens on a “full frame” camera.)
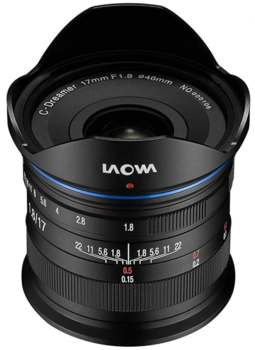
This lens is great, but it can’t communicate with the camera. So I have to manually adjust focus and aperture. I don’t move a lot on calls, so the focus part doesn’t bother me. But since the camera can’t change the aperture, if the lighting changes, the lens can’t adjust.
This can be fine if my shades are closed and I’m using artificial light, but if I’m using a window for lighting, my picture can suddenly end up too light or too dark.
I could set the camera to automatically change the shutter speed, which would adjust according to the light, but on video, you want your shutter speed to be fixed at 60 (assuming the video is 30 frames per second).
If I had a slightly more advanced camera, I could set it on “Manual plus auto-ISO”, and the ISO could change automatically. But the Lumix G7 doesn’t have that.
Get a lens that communicates with the camera body
Unless you’re sitting still and using only artificial lighting, get a lens that can communicate with the camera body. I don’t know a rule of thumb to guarantee this, but if you have a “Micro Four Thirds” camera, generally an MFT lens from another camera manufacturer, such as Panasonic or Olympus, will be able to communicate with the camera body.
This way, you can set your camera on “Shutter priority”, set the shutter to 60, and the lens will take care of the rest.
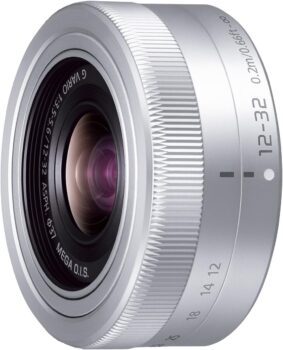
I got a Panasonic Lumix G Vario 12-32mm/F3.5-5.6 (Amazon). It doesn’t let in as much light as my fixed lens, so can’t have as much of that bokeh (blurred background) effect. But I can set how much I want my camera to be over/underexposed given the lighting, and the lens adjusts. It can also auto-focus, though the Lumix G7 is known for having sub-par auto-focus (which streaming gamers hate, but I don’t care).
Since you can adjust the length of the lens, supposedly it’s not as sharp as a fixed-length lens, such as my Laowa. I think that’s generally true, but the difference is marginal. You be the judge.
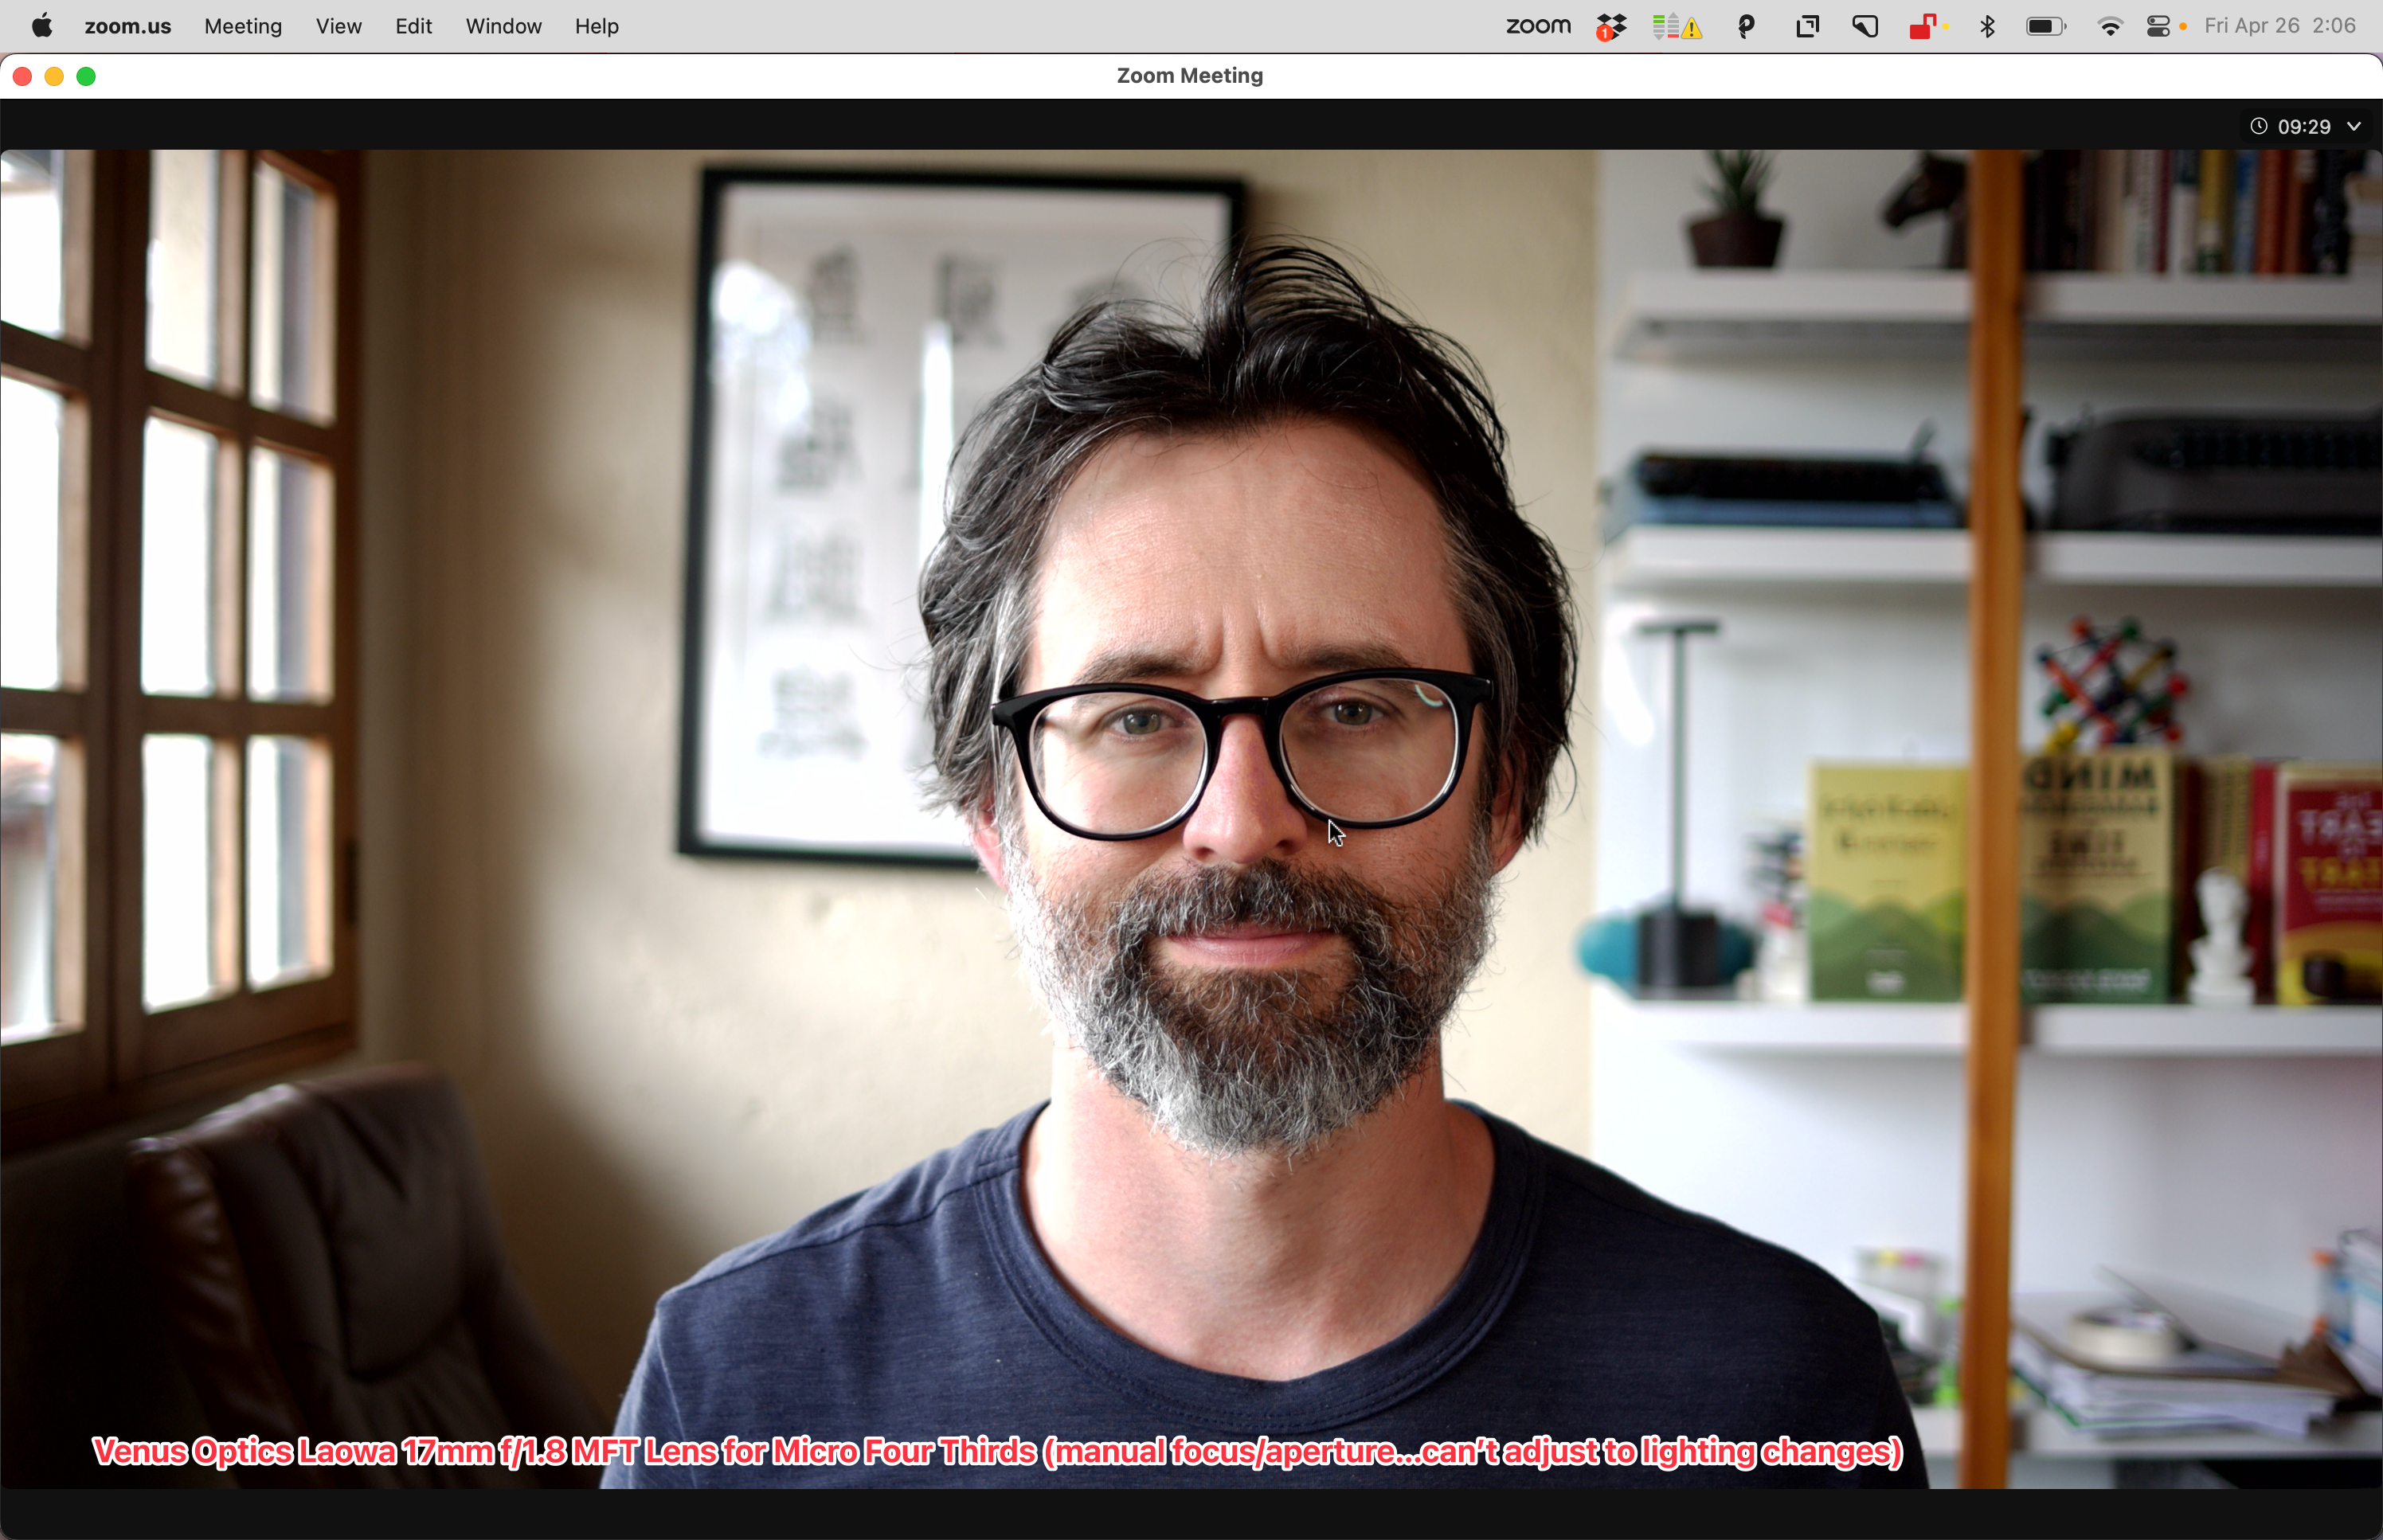
Venus Optics Laowa 17mm f/1.8, with daylight and ring-light fill
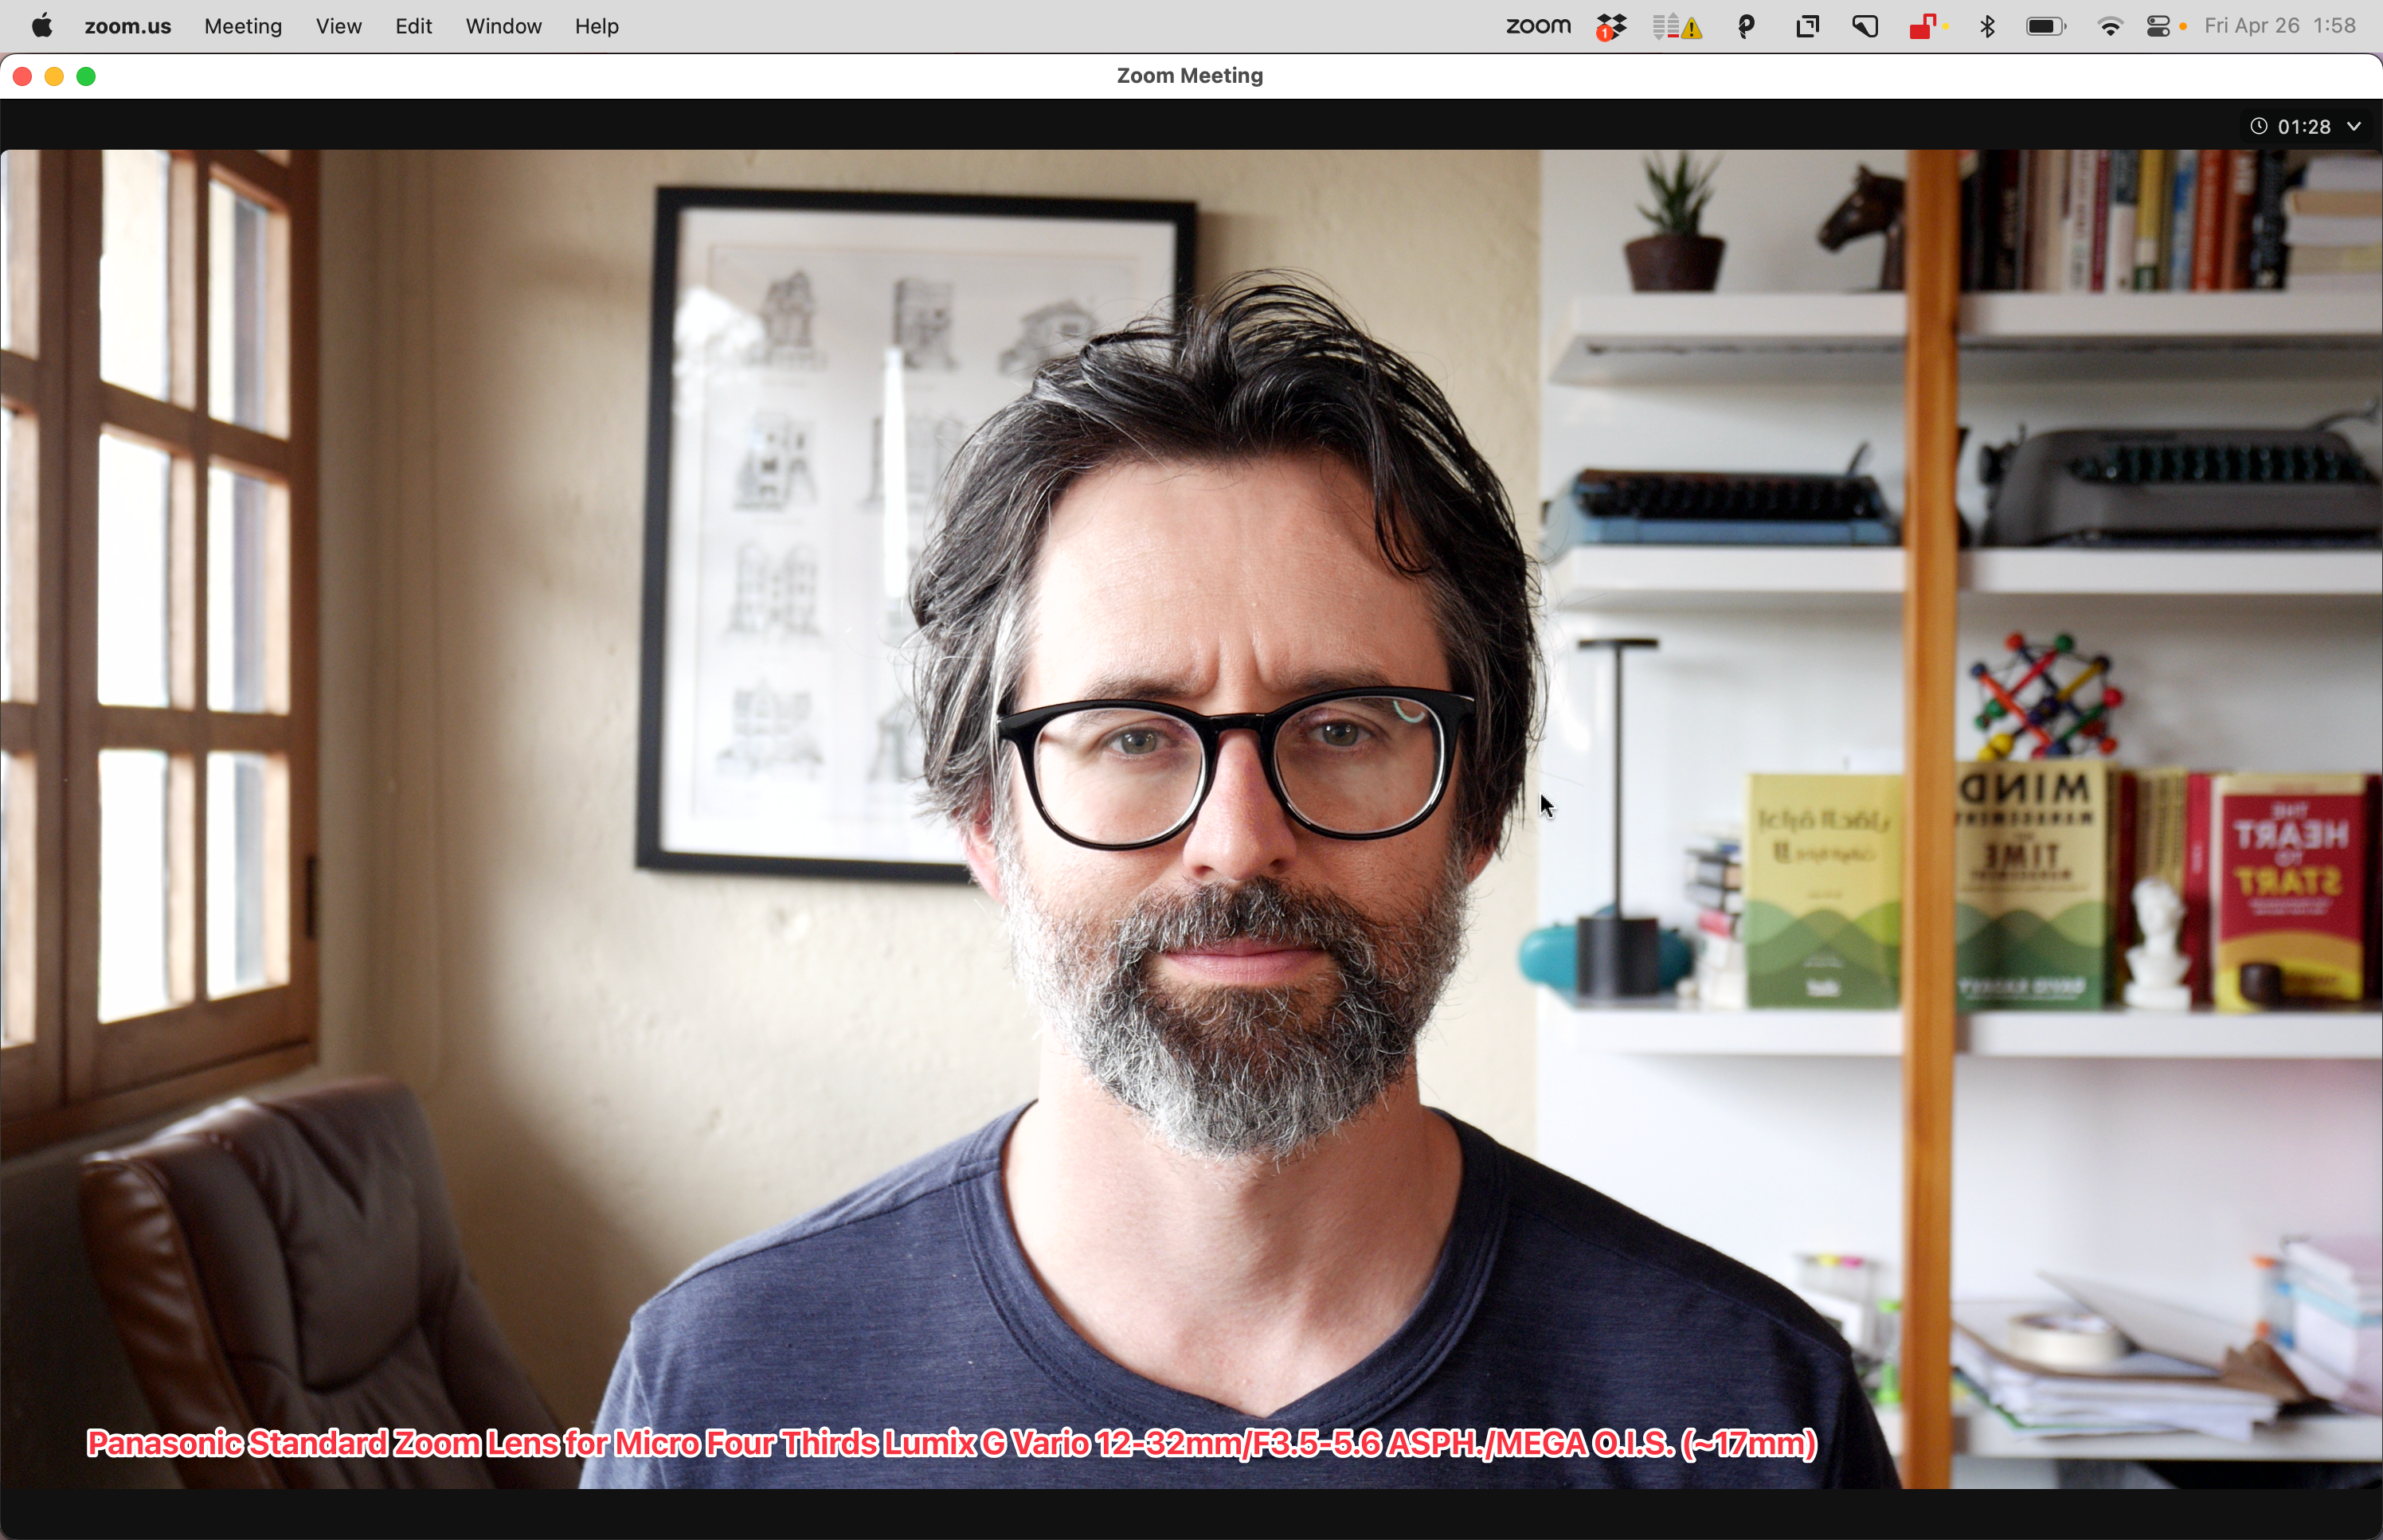
Panasonic Lumix G Vario 12-32mm/F3.5-5.6 ASPH./MEGA O.I.S. Silver H-FS12032-S (daylight with ring-light fill)
Get your lights right
Without proper lighting, your pro camera is practically useless. In fact, situations with poor lighting are where your laptop or iPhone cameras would likely outperform a pro camera.
There are all sorts of cheap lights on Amazon, and you can switch out colors, if you want to accent. You can also use LED strips to accent the background. A ring light is versatile, just play with the positioning.

My lighting setup when I have total control over the lighting, with my 17mm Laowa lens
When I don’t feel like setting up lights, I just use a nearby window, with a ring light to fill in shadows, which has been my setup in prior examples.
Put your camera on Auto White-Balance, or better yet learn to set the white balance, and don’t mix cool and warm light unless you know why.
My colored lights are the Two-Piece UBeesize LED Video Light Kit (Amazon). My ring light is one I picked up at a local mall store. Cheap, but dimmable, with three color-temperatures of white light.
Putting it all together
Here’s what my setup looks like. I pieced together a vertical stand with various clip-on elements to arrange camera and lighting. You also need to provide power to your camera. I use a battery, but you can connect it all to AC power.
The window behind my desk would be great for lighting, but the view would be too distracting. Perhaps I can get a translucent shade.
Camera, lens, lighting, capture card, cables, and stands probably amount to about $750.
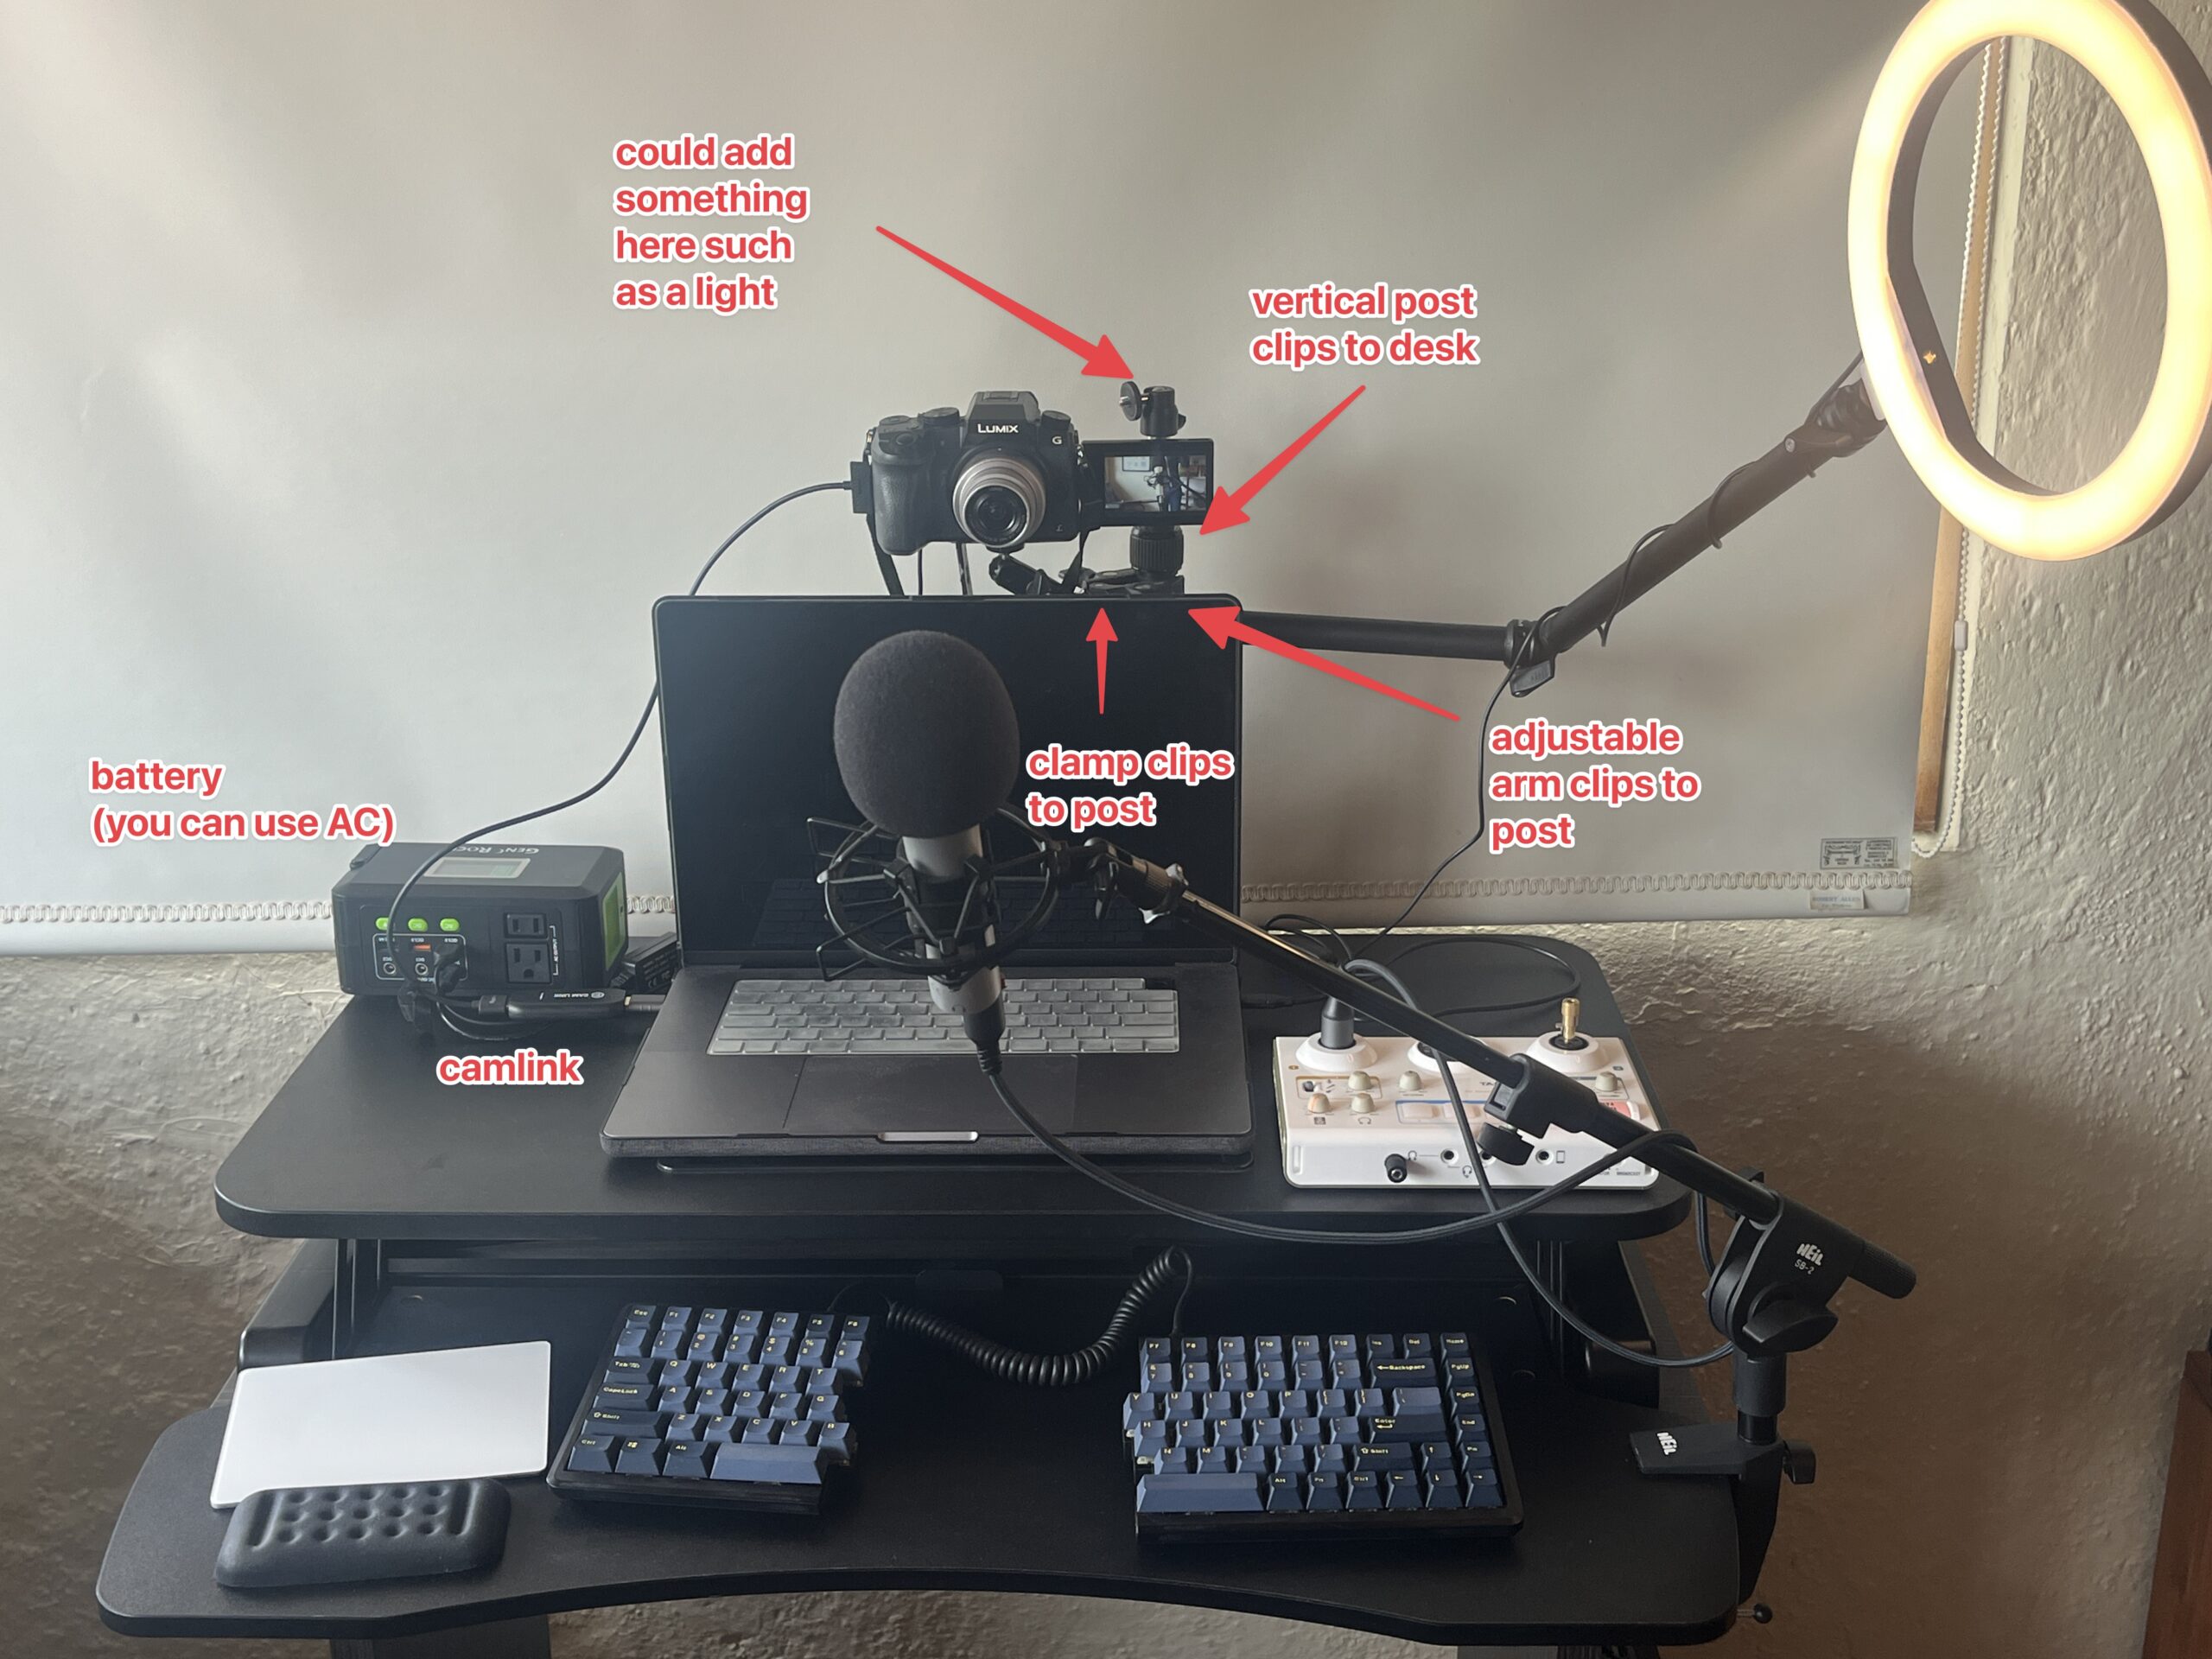
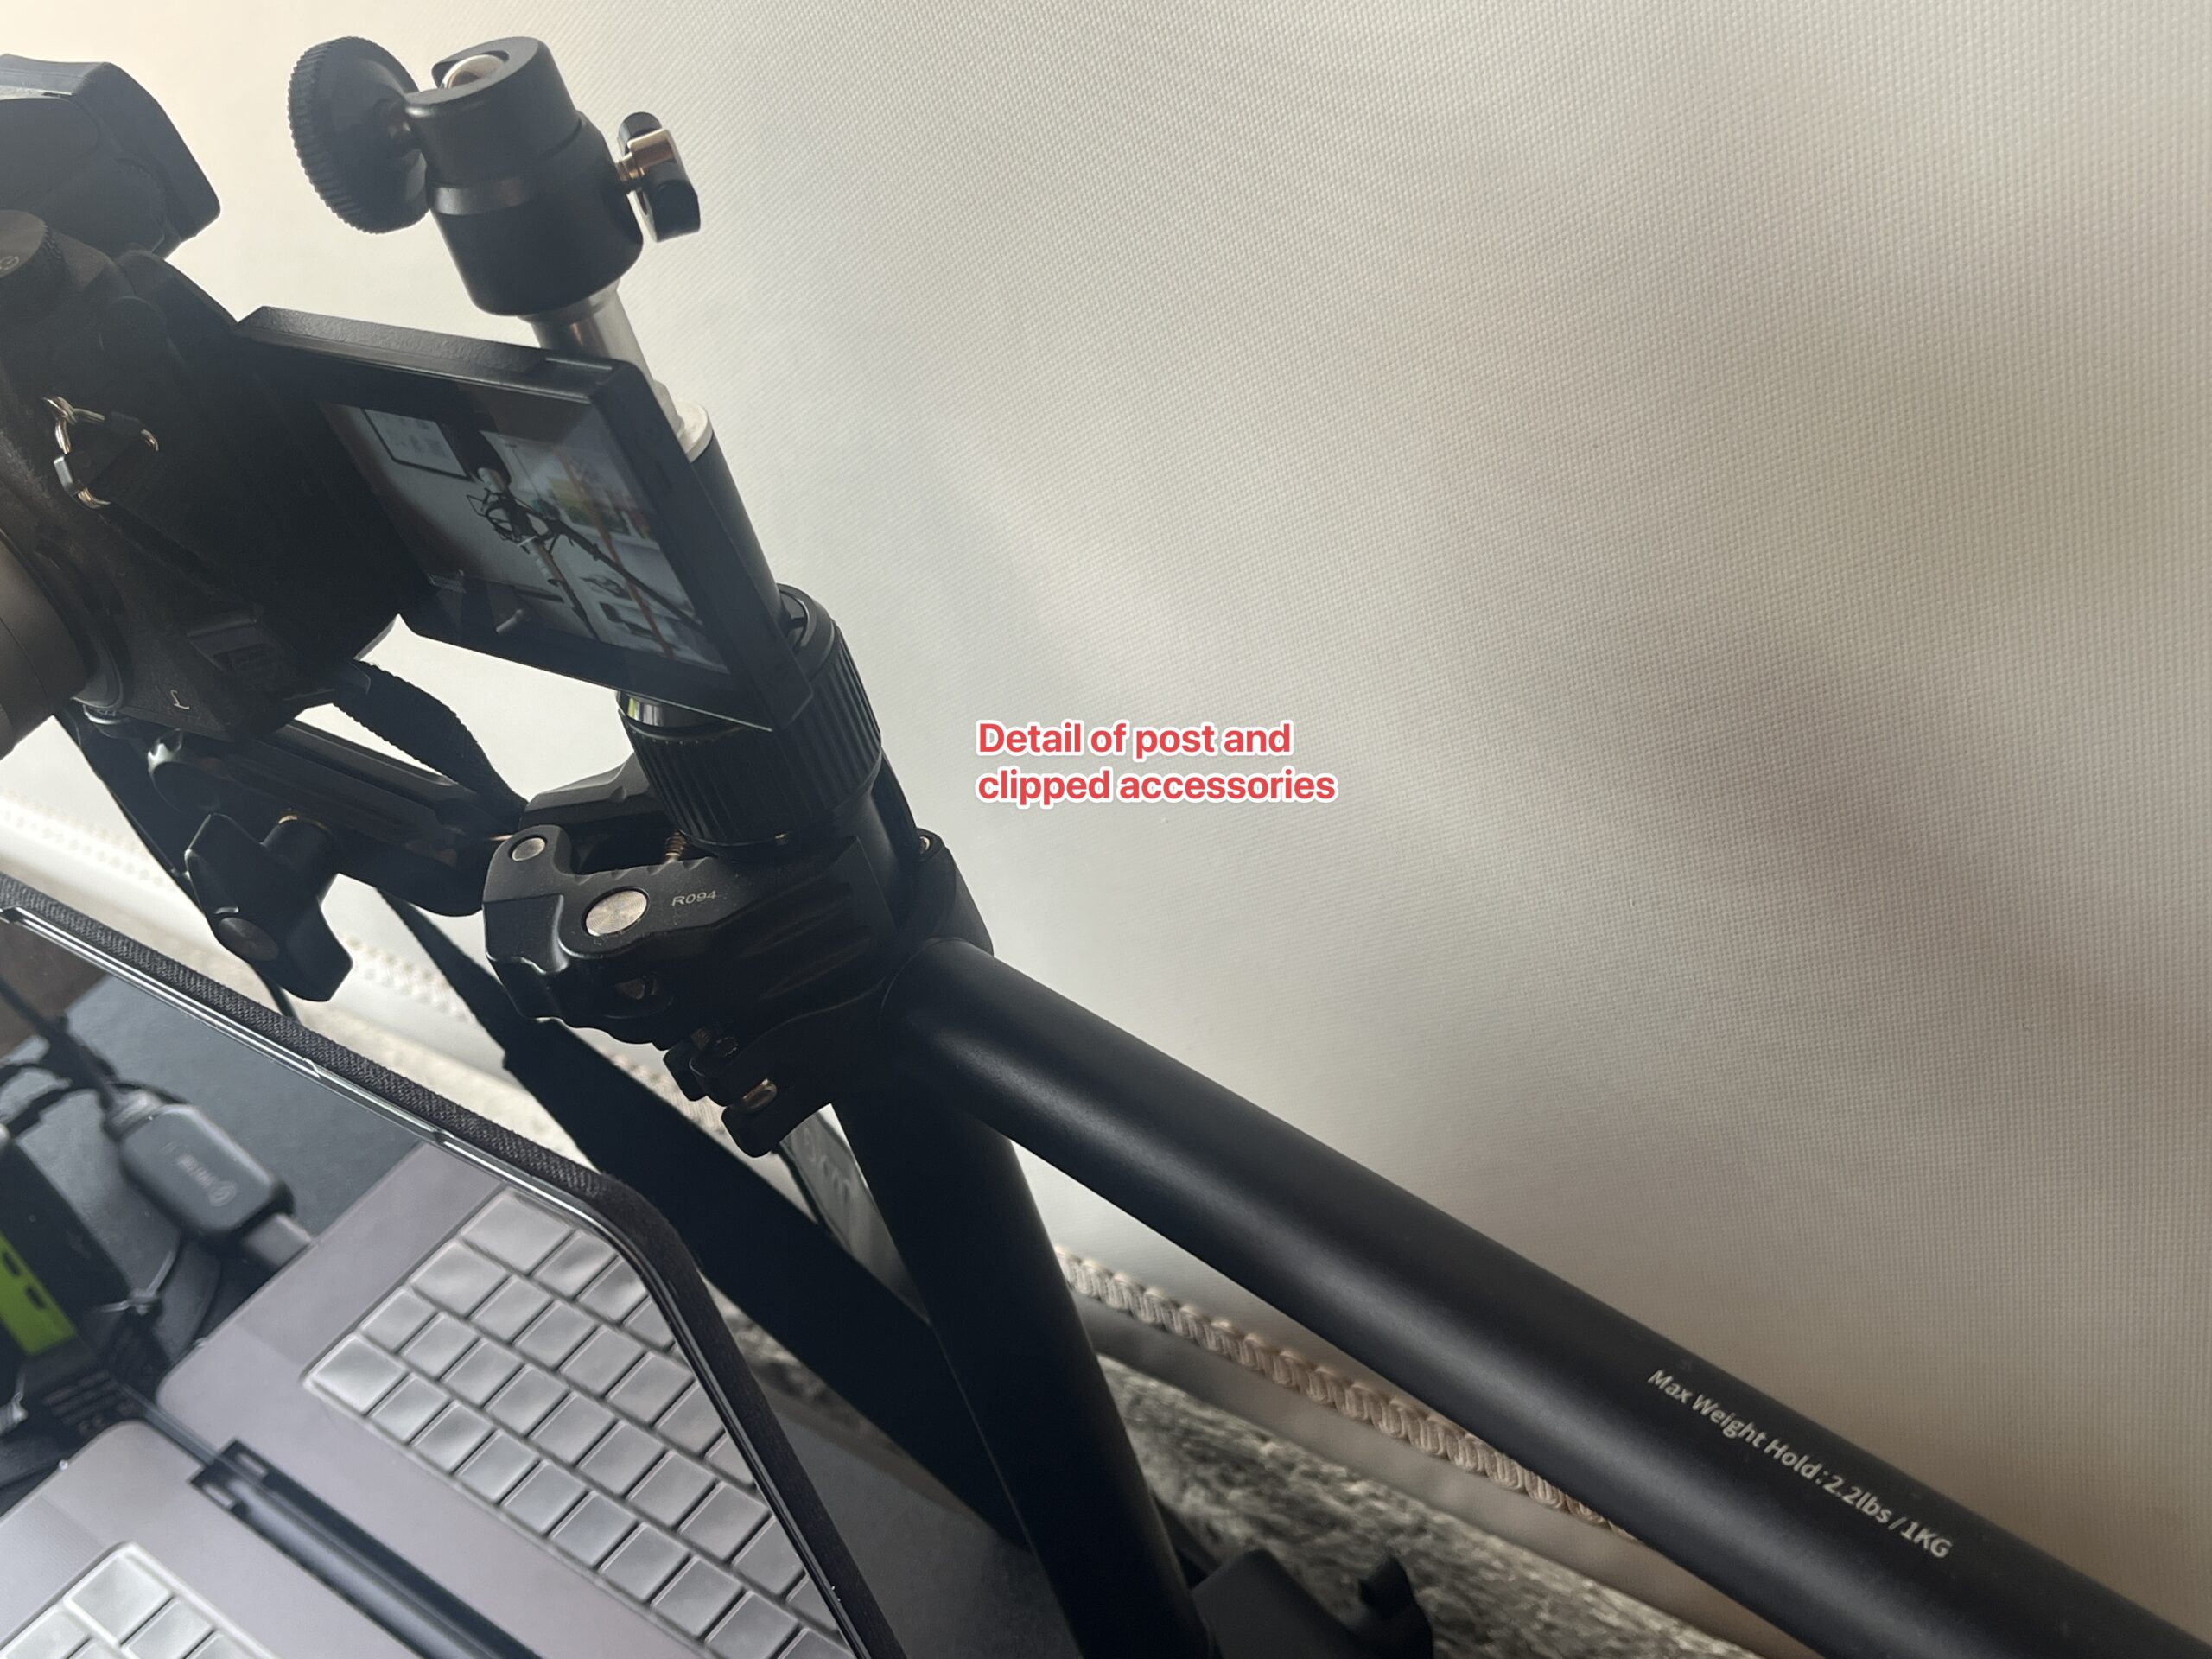
Stuff like this gets discontinued all the time, but the Amazon links for my desk-clip stand is this one, my camera-mount clamp is this one, and the auxiliary arm I use for my ring light is this one.
And that’s the main stuff I know about how to use a pro camera for conference calls and streaming. It does take a little willingness to learn some technical details about photography, but it will greatly improve the quality of your video calls and streaming.